Hello friends!
This is Gerry here today to share with you two of my latest layouts
where I used Awesome Imaginarium Designs Chipboard.
Here is my first layout....
On the photos: My son - charming as always with his cute "faces" :-)
Chipboard Supplies:
IDP 0006 - Our Boy
IDS 0018 - 9 Cogs on board
IDT 0004 - 9 Cogs on board (tiny)
IDC 0007 - Corners with four circles (small)
IDC 0005 - Tulip Corners
All the chippies were painted with gesso & inked!
I added on top of the letter "o" a cog. On top of the cog a metal trinket was added
(by Ingvild Bolme) and as a final touch I added a tiny gear in the centre.
Some of the gears were left only with the gesso layer and the others simply inked.
Then I combined a few cogs for more dimension.
And my second layout....
The tooth fairy visited us not so long ago and I had to scrap
this beautiful moment of my daughter's life :-)
Chipboard Supplies:
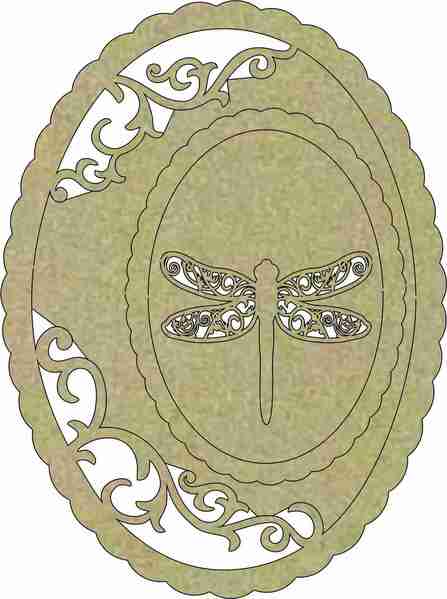
IDFR 0015 - Double Oval Frame
IDP 0039 - News Flash
IDAL 0001 - Lower case letters
IDFL 0004 - Vine Flourish
IDS 0001- Butterfly small
IDS 0031 - Monarch Butterfly
Once again all the chippies have a layer of gesso!
Both the phrase "News Flash" and the letters were stamped with script motif
so it'll look like a newspaper. Then the chippies were inked with different colours ink.
The vine flourish chipboard was added to the oval frame to look like
it comes from my daughter's hair and as if it`s a "fairy pony tail"
I changed a little bit the oval frame so it`ll fit for my photo.
1. First, I carefully cut one of the flourishes.
2. I painted with Gesso the whole frame.
3. I added micro marbles (Martha Stewart) to one of the flourishes.
4. Then used ink to colour in the frame and adhered on top of the photo.
5. I added the other flourish just above the other one and decorated with
flowers and a resin (Ingvild Bolme)
Other Products I used:
Prima Marketing
Hope you enjoyed my projects today!
Have a creative week!


0 comments:
Post a Comment