This year, I have decided to give the big global companies a miss, and create hand-made Christmas gifts instead (or if I can't make them, then I will at least buy locally). So I am going to take this opportunity to show you what two of my family members will be receiving this year. And yes, these are 100% hand-made.
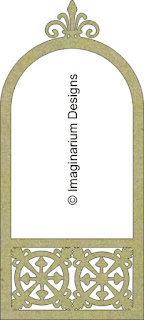
Now I know this photo frame looks complicated, but it isn't as hard as it looks. I have simply taken three chipboard frames, coated them with Maya Road Mist in silver, allowed them to dry, then embossed them with Zing Clear Embossing Powder (this gives the spray mist a protective cover).
The next step was to glue the frames together. I used Helmar 450 Quick-Dry Adhesive because it dries quickly, and it is flexible. I simply placed the frames at a 45 degree angle as they were drying (they are not in flat or in a straight line).
I have also used the silver mist on the vine flourishes, and the embellishment at the top centre, of the middle frame. However, in this case, I did not coat them with clear embossing powder, so they are actually a couple of shades lighter than the frames. This allows them to stand out more.
The oval frames have been created by added a pearl centre, then gluing the tip to the larger outer frame. I have then finished off with Prima flowers, crystal vines, and sequin vines in coordinating colours.
The peacock feathers were misted with silver. Once dry, I added a layer of Glimmer Glam in Mermaid, and followed this with Stickles Ice.
I also added a thick sheet of cardboard behind the photograph to give support, stop the light from shining through the photograph, and to prevent the frame from buckling.
IMAGINARIUM DESIGNS PRODUCTS USED:
Other Products Used: Prima flowers; Prima vines; Prima rhinestones; Tim Holtz pearl embellishments; Maya Road Maya Mist (Antique Silver); Tattered Angels Glimmer Glam (Mermaid); Zing Clear mebossing powder; Stickles Ice; Helmar 450 Quick Dry Adhesive.
To create this photo frame, I have used similar techniques to join it all together, but different techniques for coating the frames.
This photo frame has been created by using three large frames that have been glued together using Helmar 450 Quick Dry Adhesive. (You could probably also punch holes and join it the frames together with wire or jewellery links).
The frames have been coated with a brown ink (I have used Ingvilde Bolme Prima ink, but any brown ink will do). Once dry, I have coated each frame with Tim Holtz Distress Crackle Paint in Rock Candy. I have allowed this to dry thoroughly, before coating it with a gold pigment ink. I have then wiped off the excess pigment ink with a tissue. The remaining gold ink has highlighted the crackling beautifully.
For the large squares in the centre of the frame, I have actually used a transparency. When placed in a well lit area, the light actually shines through the transparency and frame.
Some of the chipboard pieces have been inked and then coated with Kindy Glitz. Other pieces have been inked with gold pigment ink, then embossed with Gold Glitter Embossing Powder.
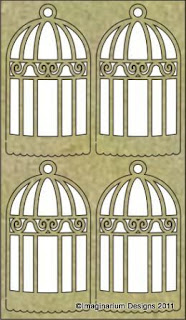
I have finished off the centre points on the frames with pink rhinestones. Along with all the pretty Prima flowers, and the ribbon on the birdcage, this has created a very feminine and soft photo frame that I can't wait to give to someone special in my family.
IMAGINARIUM DESIGNS PRODUCTS USED:
Other Products Used: Glitz Design papers; Glitz Design Peek-A-Boo sheets; Prima flowers; Prima vines; Prima rhinestones; Prima/Ingvilde Bolme resin treasure pieces; Ingvilde Bolme/Prima inks; Zing Gold Glitter Embossing Powder; gold pigment ink; Kindy Glitz Pink; Stickles Ice; Tim Holtz Distress Crackle Paint; metal watch embellishment; Helmar 450 Quick Dry Adhesive; Helmar Liquid Scrap Dots.
Thank-you for stopping by today, and don't forget to leave a comment to be automatically entered into our draw, to win some fabulous Imaginarium Designs chipboard goodies.
To see more of my work, please visit my blog:
I hope you are having a fabulous weekend!
Cheers and hugs,
Julianne. x


0 comments:
Post a Comment